A mini sewing machine manual provides a comprehensive guide for operating, maintaining, and troubleshooting your device. It includes step-by-step instructions, safety tips, and essential information for optimal use;
1.1 Overview of the Mini Sewing Machine
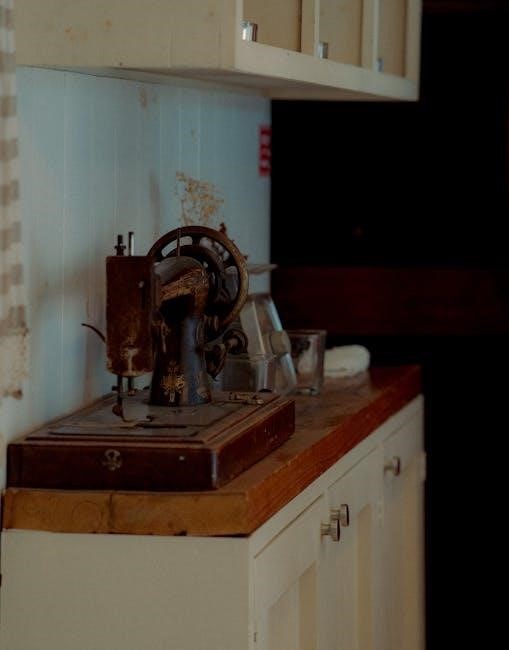
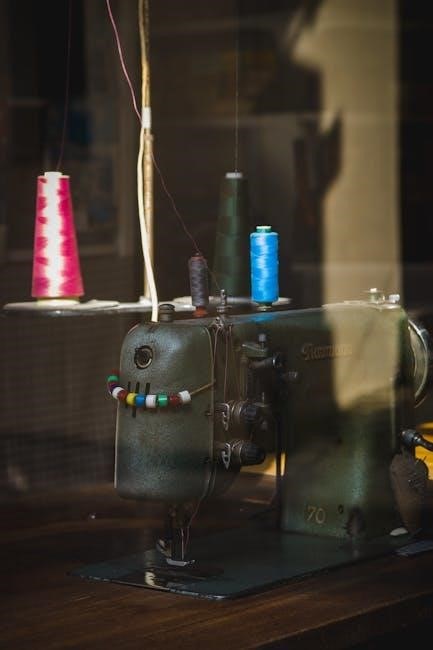
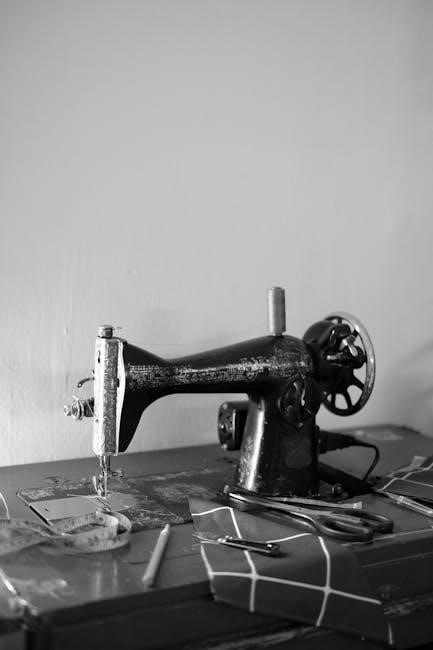
A mini sewing machine is a compact, portable device designed for small-scale sewing projects. It offers basic stitching options, including straight and zigzag stitches, and is ideal for beginners or crafters. Lightweight and easy to use, it is perfect for repairing clothes, sewing fabrics, and creating small crafts. The machine typically includes essential features like a presser foot, bobbin system, and adjustable tension for versatile use.
1.2 Importance of the Manual for Operation
The manual is essential for understanding how to safely and effectively operate a mini sewing machine. It provides detailed instructions for threading, bobbin setup, and troubleshooting common issues. By following the manual, users can ensure proper machine function, avoid potential damage, and achieve the best results for their sewing projects. It serves as a roadmap to confident operation and creative sewing.
1.3 Benefits of Using a Mini Sewing Machine
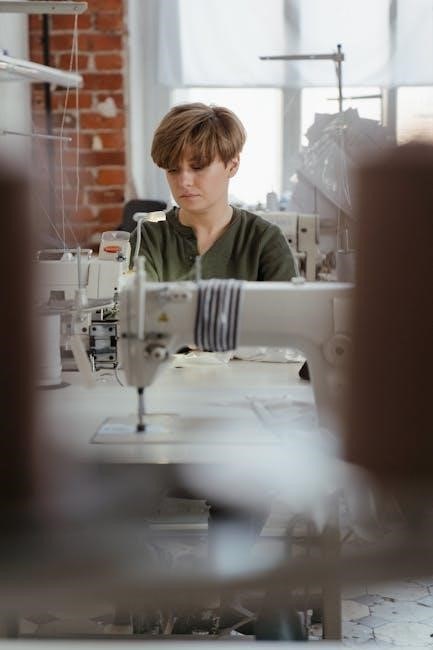
Mini sewing machines are portable, space-saving, and ideal for small projects. They are easy to use, making them perfect for beginners or hobbyists. These machines are versatile, handling various fabrics and basic stitching tasks efficiently. They are cost-effective and eco-friendly, offering a convenient solution for quick repairs or creative projects. Their compact design and lightweight build make them a practical addition to any sewing kit or crafting collection.
Safety Precautions and Guidelines
Always follow safety guidelines to avoid accidents. Keep the machine away from water, use only recommended attachments, and avoid damaged cords. Ensure proper needle installation and keep fingers away from moving parts for safe operation.
2.1 General Safety Instructions
Always prioritize safety when using your mini sewing machine. Keep the machine away from water and avoid using it with a damaged cord or plug. Ensure proper needle installation, with the flat side facing forward. Never operate the machine near children or pets. Keep loose clothing and long hair tied back to avoid accidents. Refer to the manual for specific guidelines to ensure safe and efficient operation.
- Avoid submerging the machine or its parts in water.
- Use only recommended attachments and needles.
- Keep fingers away from moving parts, especially the needle area.
2.2 Electrical Safety Tips
Ensure electrical safety by using the correct power source and avoiding water exposure. Never operate the machine with a damaged cord or plug. Keep the sewing machine on a stable, dry surface. Avoid overloading the outlet, and disconnect the machine when not in use. Regularly inspect the power cord for wear or damage. Follow the manual’s guidelines to prevent electrical hazards and ensure safe operation.
- Use the recommended power adapter only.
- Avoid using the machine near water sources.
- Disconnect the machine during maintenance.
2.3 Handling Moving Parts Safely
Always keep fingers away from moving parts, especially the needle and presser foot. Use the provided presser foot to handle fabric, preventing direct contact with sharp components. Ensure loose clothing or jewelry does not interfere with the machine. Regularly inspect and maintain moving parts to ensure smooth operation. Keep children away while the machine is in use to avoid accidents. Proper handling ensures safe and efficient sewing.
- Never touch the needle or bobbin area while sewing.
- Use the presser foot to guide fabric safely.
- Keep the work area clear of distractions.
Identifying Parts of the Mini Sewing Machine
Understanding the components of your mini sewing machine is essential for effective operation. Key parts include the needle, presser foot, bobbin, and spool pins. Diagrams in the manual help identify each part and their functions, ensuring proper setup and use.
3.1 Main Components and Their Functions
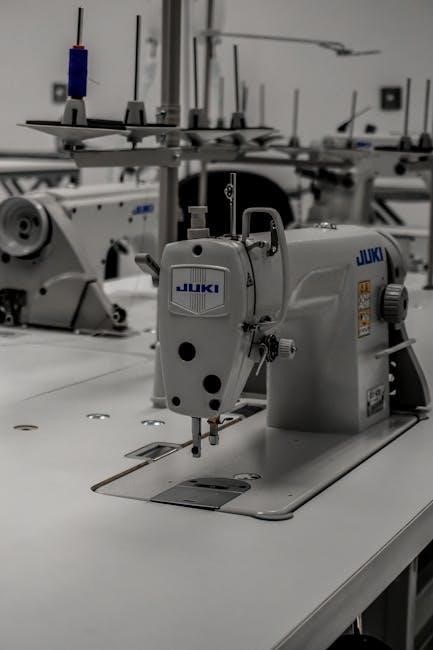
The mini sewing machine’s main components include the needle, which sews fabric; the presser foot, holding material steady; and the bobbin, managing thread. The spool pins hold thread spools, while the tension dials adjust thread tightness. The handwheel controls needle movement, and the power switch activates the motor. Understanding these parts ensures proper operation and maintenance, as detailed in the manual.
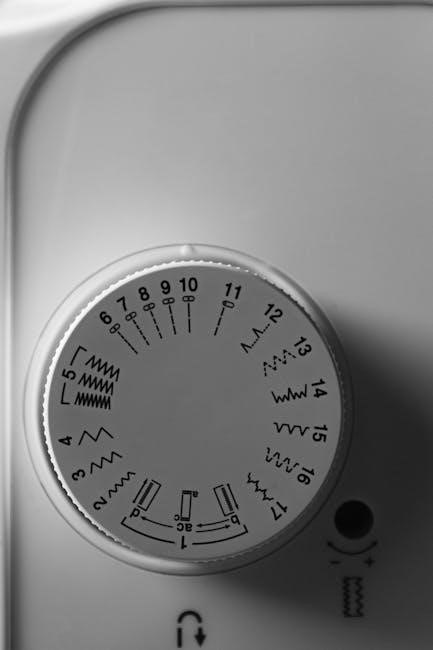
3.2 Diagrams and Labels for Easy Identification
Diagrams in the mini sewing machine manual provide visual guides to identify components like the needle, bobbin, and presser foot. Labels and color-coded illustrations help users locate parts quickly. Detailed images explain thread paths and tension adjustment points. These visuals simplify assembly, operation, and troubleshooting, ensuring users can manage their machine confidently. The manual often includes exploded views for clearer understanding of internal mechanisms and accessories, making maintenance easier and less intimidating for beginners.
Threading and Bobbin Setup
Threading involves guiding the thread through the machine’s tension discs and take-up lever. Wind the bobbin evenly, then insert it into the bobbin case, ensuring proper alignment for smooth stitching.
4.1 Step-by-Step Threading Guide
Start by inserting the thread into the tension discs, ensuring it passes through the take-up lever. Gently pull the thread to set the tension. Wind the bobbin evenly, leaving a small tail. Secure the bobbin in its case and guide the thread through the needle. Leave about 4 inches of slack for easy stitching. Always refer to the manual for specific alignment and tension adjustments to avoid thread breakage or uneven stitches.
4.2 Winding and Installing the Bobbin
Place the bobbin on the winder, ensuring it aligns properly. Wind the thread evenly, filling it about 2/3 full without overfilling. Cut the excess thread and insert the bobbin into its case. Pull the thread gently to secure it in place. Ensure the bobbin is seated correctly and the thread flows smoothly. Always refer to the manual for specific winding techniques to prevent tangling or uneven stitches during operation.
4.3 Adjusting Thread Tension
Proper thread tension ensures even stitching. Turn the machine off and gently pull the thread to check resistance. If too loose, tighten the upper tension screw slightly. If too tight, loosen it. Test stitches on scrap fabric after each adjustment. Ensure the bobbin thread tension is also balanced to avoid puckering or loose fabric. Refer to the manual for precise adjustment guidelines to achieve perfect stitch quality every time.
Basic Sewing Operations
Master essential sewing skills with your mini machine. Learn to start stitches, sew forward and backward, and use the presser foot for smooth fabric control and precision.
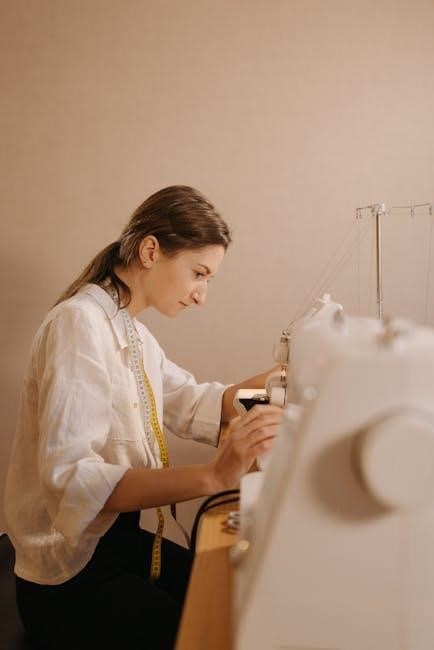
5.1 Starting Your First Stitch
Begin by ensuring the machine is properly set up. Install the needle with the flat side facing forward. Thread the machine following the manual’s guide, ensuring the thread passes through the spool, tension discs, and finally the needle. Wind the bobbin and insert it into the bobbin case under the needle plate. Lower the presser foot, place fabric beneath it, and gently turn the handwheel to create your first stitch. Practice on scrap fabric to avoid errors and adjust settings as needed for optimal results.
5.2 Sewing Forward and Backward
Engage the direction switch to sew forward or reverse. For forward stitching, gently press the pedal and guide fabric smoothly. Use the reverse button for backward stitching to secure seams. Maintain steady fabric tension and adjust stitch length as needed. Always keep fingers clear of the needle. Practice on scrap fabric to master directional control and achieve professional-looking results.
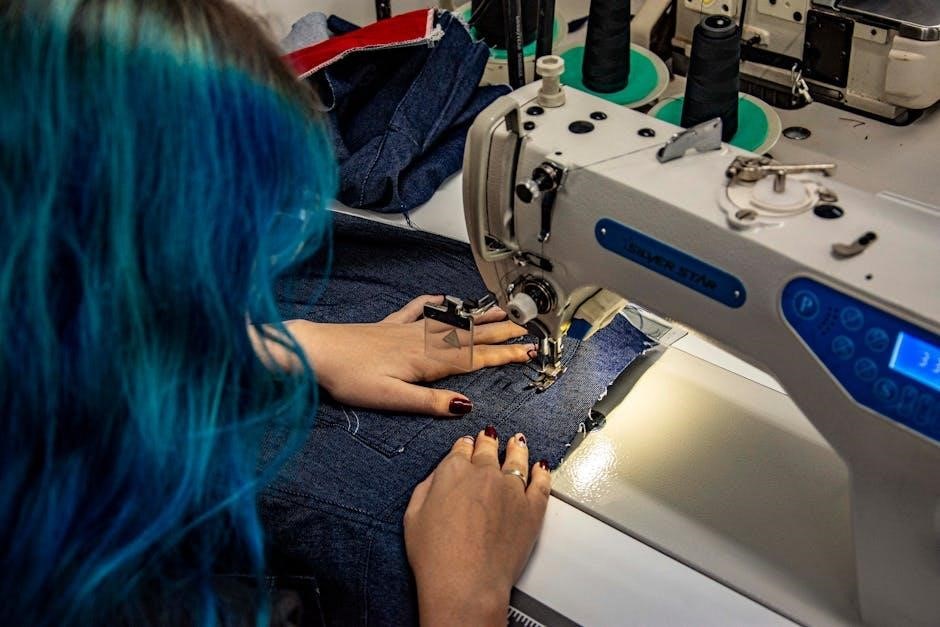
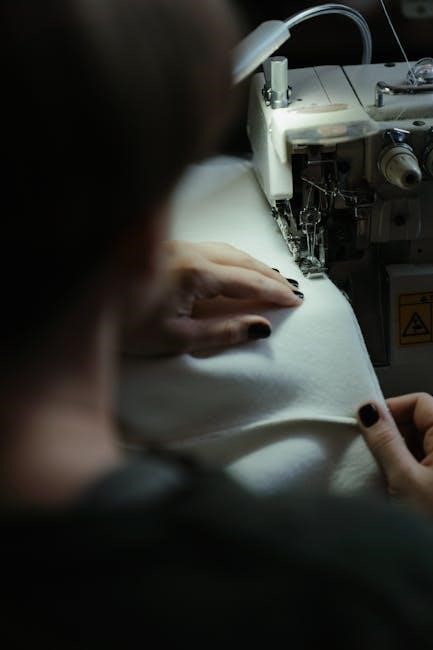
5.3 Using the Presser Foot
Lift the presser foot using the lever to position fabric. Place material under the foot, ensuring it lies flat. Lower the foot to secure fabric in place. Sew steadily, guiding fabric smoothly. Use the presser foot to maintain even pressure, preventing slippage. Adjust pressure for different fabrics. Always keep fingers clear of moving parts for safe operation. Proper presser foot use ensures accurate stitching and professional results.
Maintenance and Troubleshooting
Regularly clean and lubricate the machine to ensure smooth operation. Check for thread jams and needle damage. Consult the manual for solutions to common issues.
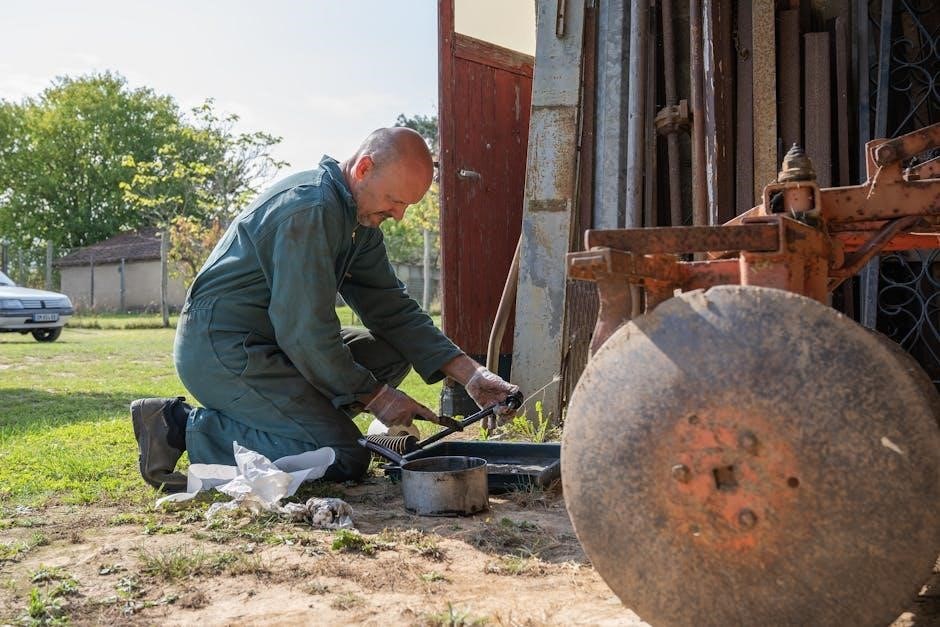
6.1 Cleaning and Lubricating the Machine
Regular cleaning and lubrication are essential for maintaining your mini sewing machine. Use a soft brush to remove dust and debris from visible parts. Apply a few drops of sewing machine oil to moving components, following the manual’s guidelines. Gently wipe the exterior with a clean cloth. Avoid submerging the machine in water. Lubricate every month or after heavy use to ensure smooth operation and extend the machine’s lifespan.
6.2 Common Issues and Solutions
Common issues with mini sewing machines include thread bunching, broken needles, or jamming; To resolve these, check thread tension, ensure proper needle installation, and clean the machine regularly. If the machine jams, turn it off, gently remove the fabric, and restart. For persistent issues, consult the manual or contact a professional. Regular maintenance and correct usage can prevent most problems, ensuring smooth operation and extending the machine’s lifespan. Always refer to the manual for specific solutions.
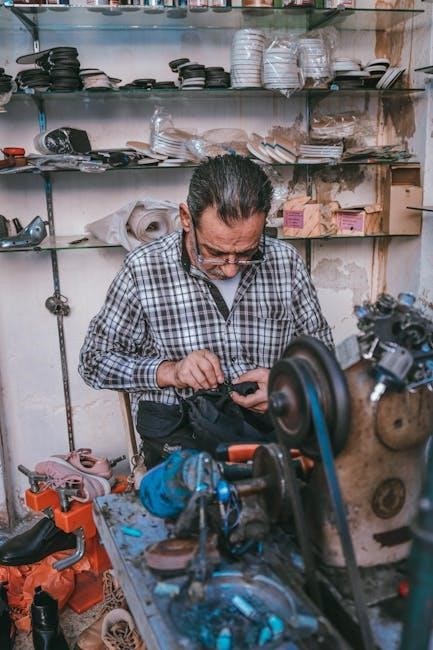
6.3 When to Consult a Professional
Consult a professional if your mini sewing machine experiences severe damage, electrical malfunctions, or complex mechanical issues. If the machine is exposed to water, dropped, or has broken internal parts, seek expert assistance. Do not attempt DIY repairs for electrical or internal damage, as this can cause further harm or safety risks. Always contact authorized service providers for such cases to ensure proper repair and maintain warranty validity.
Accessories and Attachments
Accessories like zipper feet, extension tables, and specialized needles enhance mini sewing machine functionality. Essential tools include bobbins, threads, and presser feet for versatile fabric handling and stitching efficiency.
7.1 Essential Accessories for Mini Machines
Essential accessories for mini sewing machines include bobbins, threads, presser feet, and needles. Zipper feet and extension tables are also vital for handling various fabrics and stitching efficiently. Additionally, carrying cases, extra needles, and specialized attachments like buttonhole feet enhance functionality. These accessories ensure optimal performance and versatility for different sewing tasks. Always use manufacturer-recommended attachments for compatibility and safety.
7.2 Using Different Feet for Various Fabrics
Different presser feet enhance sewing efficiency for various fabrics. A zipper foot is ideal for zippers and thick materials, while a buttonhole foot simplifies buttonhole creation. The invisible zipper foot ensures seamless zipper integration, and the needle feeder foot handles heavy fabrics like denim. Using the right foot ensures precise stitching, prevents fabric slipping, and maximizes control for optimal results. Always choose the appropriate foot for your fabric type to achieve professional-quality stitches.
Advanced Features and Techniques
Explore advanced sewing techniques, including handling various fabrics, custom stitching, and specialized attachments, to enhance your projects and expand your sewing capabilities with precision and ease.
8.1 Sewing Different Types of Fabric
Mini sewing machines can handle various fabrics like cotton, silk, and heavier materials with the right settings. Use a zipper foot for thicker fabrics and adjust thread tension for delicate ones. Always use the appropriate needle size to prevent damage and ensure smooth stitching. Refer to your manual for specific guidance on fabric compatibility and optimal machine settings to achieve professional results.
8.2 Creating Buttonholes and Zippers
Use the buttonhole and zipper feet for precise stitching. For buttonholes, align fabric, select the buttonhole setting, and sew. For zippers, attach the zipper foot, place the zipper under the presser foot, and sew along the edge. Follow manual guidelines for adjusting stitch length and width. These attachments simplify intricate tasks, ensuring professional-looking results on your mini sewing machine.
Downloading and Using the Manual
Download the mini sewing machine manual as a PDF for easy access. Read it carefully to understand operation, maintenance, and troubleshooting. Use it as your guide for optimal performance.
9.1 How to Download the PDF Manual
Visit the manufacturer’s website or reliable sources like ManualsLib or SewMighty. Search for your mini sewing machine model number to find the PDF manual. Click the download link and save the file. Ensure the source is trusted to avoid malware. The manual is typically free and accessible, providing detailed guides and diagrams for easy reference. Always verify the manual matches your machine model for accurate instructions.
9.2 Navigating the Manual for Quick Reference
The manual is organized with a table of contents and index for easy navigation. Use the search function to locate specific topics like threading or troubleshooting. Diagrams and labeled parts help visualize instructions. Bookmark frequently used sections for quick access. The manual also includes a troubleshooting guide to address common issues efficiently. Familiarize yourself with its structure to find information quickly and make sewing tasks more manageable and enjoyable.
Mastering your mini sewing machine involves practice, patience, and proper maintenance. Always refer to the manual for guidance. Experiment with fabrics and techniques to enhance your skills and creativity, ensuring a fun and rewarding sewing experience.
10.1 Summary of Key Points
Mini sewing machine manuals provide essential guidance for safe operation, threading, and maintenance. They emphasize proper needle installation, thread tension adjustment, and regular cleaning. Always follow safety precautions to avoid accidents. Troubleshooting common issues and using recommended accessories ensures optimal performance. By adhering to the manual’s instructions, users can enhance their sewing skills and extend the machine’s lifespan. Practice and exploration will further refine your sewing experience.
10.2 Encouragement to Practice and Explore
Embrace your mini sewing machine as a creative tool for crafting and repairing. Practice regularly to refine your stitching skills and explore various fabrics. Experiment with different techniques, such as buttonholes or zippers, to expand your sewing repertoire. Don’t hesitate to try new projects—each one is an opportunity to learn and grow. Remember, practice builds confidence and mastery, so keep sewing and enjoy the journey of creation!

About the author