The 2015 Subaru Outback manual serves as an essential guide for owners, providing detailed instructions for maintenance, troubleshooting, and understanding vehicle features to ensure optimal performance.
Overview of the 2015 Subaru Outback

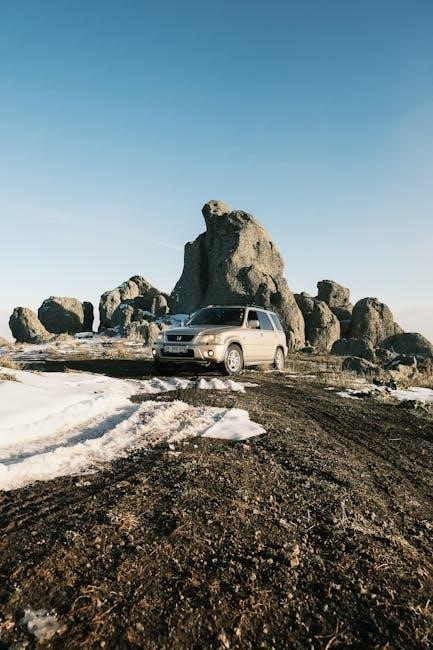
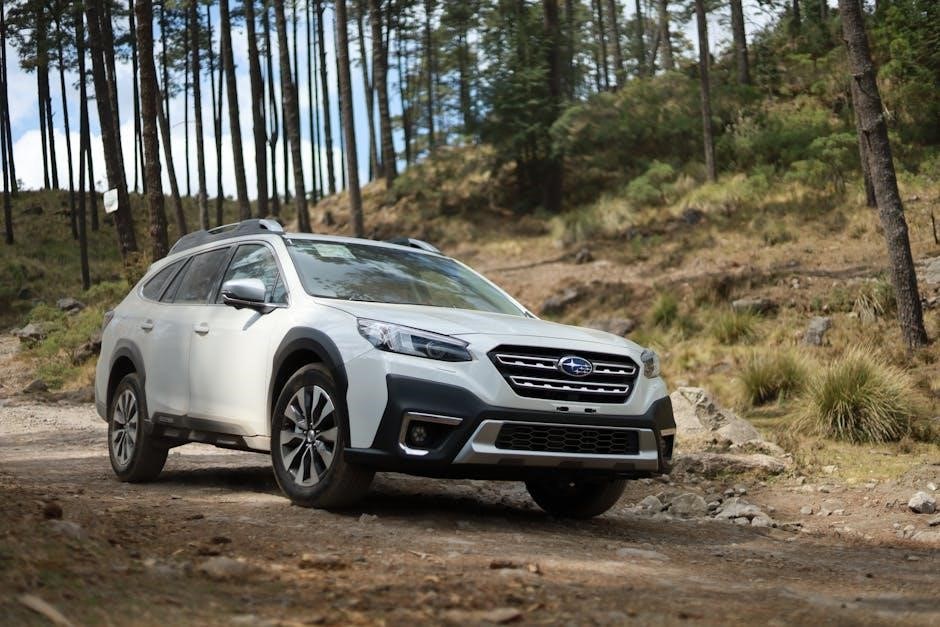
The 2015 Subaru Outback is a versatile crossover wagon known for its all-weather capability and rugged design. It features a 6-speed manual transmission, Symmetrical AWD, and a spacious interior. Available in various trims, it offers a balance of comfort and off-road performance. The Outback is praised for its reliability, with many owners exceeding 200,000 miles with proper maintenance. Popular among outdoor enthusiasts, it’s equipped with features like Eyesight Technology for safety. Buyers often consider its durability and practicality when purchasing used models, making it a top choice for long-term ownership.
Importance of the Owner’s Manual for Maintenance and Repair
The owner’s manual is crucial for maintaining and repairing the 2015 Subaru Outback. It provides detailed instructions for checking fuses, troubleshooting issues, and understanding maintenance schedules. Regularly referencing the manual ensures proper care, preventing potential damage. DIY repairs become easier with clear guidelines, reducing reliance on mechanics. It also highlights essential safety precautions and warranty information. By following the manual, owners can extend the vehicle’s lifespan and avoid costly repairs. This resource is indispensable for both novice and experienced drivers aiming to keep their Outback in optimal condition.
Routine Maintenance and Service Schedule
Regular oil changes, tire rotations, and inspections are crucial for maintaining the 2015 Subaru Outback’s performance and longevity. Adhering to the schedule ensures reliability and prevents issues.
Recommended Maintenance Intervals for the 2015 Subaru Outback
For the 2015 Subaru Outback, routine maintenance is scheduled at specific intervals to ensure optimal performance. Oil changes are recommended every 7,500 miles, while tire rotations should occur every 7,500 to 15,000 miles. Brake fluid replacement is advised at 30,000-mile intervals, and spark plugs should be replaced at 105,000 miles. The CVT fluid change is recommended at 60,000 miles, and the timing belt replacement is crucial at 105,000 miles. Adhering to these intervals helps prevent major repairs and ensures the vehicle runs smoothly for years. Always consult the owner’s manual for detailed schedules and guidelines.
Oil Change and Tire Rotation Guidelines

Regular oil changes and tire rotations are vital for maintaining the 2015 Subaru Outback’s performance and longevity. The recommended oil change interval is every 7,500 miles, using synthetic oil for optimal engine protection. Tire rotations should occur every 7,500 to 15,000 miles to ensure even tread wear and improved safety. Properly following these guidelines helps maintain fuel efficiency, prevents engine damage, and ensures the vehicle runs smoothly. Always refer to the owner’s manual for specific instructions and recommendations tailored to your Outback’s needs. Neglecting these routines can lead to reduced performance and potential issues down the road.
Fuel Efficiency and Performance
The 2015 Subaru Outback balances power and efficiency, offering impressive fuel economy ratings and smooth handling, making it a reliable choice for both city and off-road adventures.

Fuel Economy Ratings for the 2015 Subaru Outback
The 2015 Subaru Outback offers excellent fuel economy, with the 2.5i model achieving an EPA-estimated 24 MPG in the city and 32 MPG on the highway. The 3.6R model provides a slightly lower but still impressive 20 MPG city and 27 MPG highway. These ratings make the Outback a practical choice for daily commuting and long road trips, ensuring efficient performance without compromising on the vehicle’s renowned all-wheel-drive capability and spacious design.
Optimizing Performance with Proper Driving Habits
Proper driving habits significantly enhance the performance of the 2015 Subaru Outback. Maintaining consistent speeds, avoiding aggressive acceleration, and ensuring regular maintenance can improve fuel efficiency. Checking tire pressure regularly and avoiding excessive cargo loads also contribute to better performance. Additionally, using the correct gear when driving manually and minimizing idling time can optimize efficiency. By adhering to these practices, drivers can maximize the Outback’s capabilities while ensuring a smoother and more enjoyable driving experience. Refer to the owner’s manual for specific guidelines tailored to your vehicle.

Transmission and Drivetrain
The 2015 Subaru Outback features a smooth 6-speed manual transmission and Symmetrical All-Wheel Drive, ensuring responsive handling and improved traction on various road conditions.
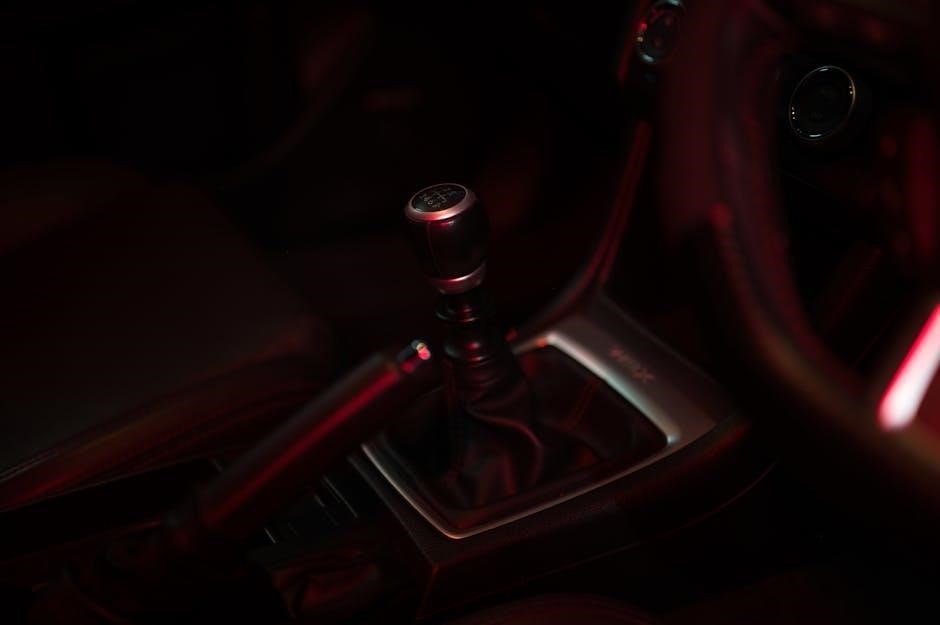
Understanding the 6-Speed Manual Transmission
The 6-speed manual transmission in the 2015 Subaru Outback is designed for smooth and precise gear shifts, offering drivers control and fuel efficiency. With a short throw shifter, it enhances driving engagement. Proper clutch operation and timely gear changes are crucial for longevity. Regular fluid checks and maintenance, as outlined in the owner’s manual, ensure optimal performance. This transmission pairs well with the Subaru Boxer engine, delivering a balanced blend of power and efficiency, making it a favorite among enthusiasts who prefer manual driving.
Common Transmission Issues and Solutions
The 6-speed manual transmission in the 2015 Subaru Outback is generally reliable but can experience issues like gear slipping or rough shifting due to wear or fluid contamination. Regular transmission fluid changes, as recommended in the manual, help prevent these problems. If issues arise, flushing the system and replacing worn components can resolve them. Consulting the owner’s manual or a certified mechanic is advised for accurate diagnosis and maintenance. Proper care ensures the transmission’s longevity and performance.

Safety Features and Reliability
The 2015 Subaru Outback excels in safety with features like EyeSight technology and Symmetrical AWD, enhancing reliability and protection for drivers and passengers on various road conditions.
Overview of Safety Features in the 2015 Subaru Outback
The 2015 Subaru Outback is equipped with a comprehensive suite of safety features, including the advanced EyeSight Driver Assist Technology, which incorporates adaptive cruise control, lane departure warning, and sway warning. Additionally, the vehicle features a robust Symmetrical All-Wheel Drive system, enhancing traction and stability on diverse road conditions. Multiple airbags, including front, side, and curtain airbags, provide superior protection in the event of a collision. The Outback also boasts a rigid body structure designed to absorb and distribute impact forces, ensuring a safer driving experience. These features collectively contribute to the Outback’s reputation as a reliable and secure choice for drivers.
Reliability and Longevity of the Vehicle
The 2015 Subaru Outback is renowned for its durability and long-term reliability, making it a trusted choice for drivers seeking a dependable vehicle. Its Symmetrical All-Wheel Drive system and robust engine design contribute to its longevity. Many owners report high mileage without major issues, with proper maintenance extending its lifespan. Subaru’s reputation for building vehicles that withstand harsh conditions further enhances the Outback’s reliability. Regular servicing, as outlined in the manual, ensures optimal performance and extends the vehicle’s life, making it a wise investment for years of trouble-free driving.

Common Problems and Repairs
The 2015 Subaru Outback may experience issues like head gasket leaks, transmission malfunctions, and Eyesight system errors. Regular manual checks and timely repairs can prevent major breakdowns.
Identifying and Addressing Common Issues
The 2015 Subaru Outback may experience issues like head gasket leaks, transmission malfunctions, and Eyesight system errors. Regular manual checks and timely repairs can prevent major breakdowns. Owners should refer to the owner’s manual for diagnostic guidance, such as checking the fusebox diagram to identify blown fuses without removing them. Transmission problems may require fluid flushes or gasket replacements. Addressing these issues early can enhance reliability and performance, ensuring the vehicle runs smoothly for years to come.
Cost Estimates for Major Repairs
Major repairs for the 2015 Subaru Outback, such as head gasket replacements, can range between $1,500 to $3,000. Transmission issues, including fluid flushes or gasket replacements, may cost $500 to $2,000. Additionally, spark plug replacements and inspections during the 60,000-mile maintenance service can estimate between $600 to $800. These costs highlight the importance of regular maintenance and addressing issues early to avoid more expensive repairs down the road.
The 2015 Subaru Outback offers reliability, fuel efficiency, and robust performance. When buying used, check maintenance history and address any issues promptly for longevity.
Final Thoughts on the 2015 Subaru Outback
The 2015 Subaru Outback remains a reliable and versatile vehicle, offering excellent all-wheel-drive capability and fuel efficiency. Its 6-speed manual transmission provides a smooth driving experience. While it excels in both on-road comfort and off-road performance, potential buyers should prioritize checking the maintenance history and addressing any issues promptly. Regular upkeep, as outlined in the manual, ensures longevity. With proper care, the Outback continues to be a practical and durable choice for adventurers and daily commuters alike.
What to Look for When Purchasing a Used Model
When buying a used 2015 Subaru Outback, inspect the vehicle thoroughly. Check for signs of wear on the engine, transmission, and all-wheel-drive system. Review the maintenance history, ensuring routine services like oil changes and tire rotations are up to date. Look for any recalls or repairs related to common issues like head gasket problems or transmission malfunctions. Test drive the vehicle to assess performance and responsiveness. Consider hiring a mechanic for a pre-purchase inspection to identify hidden issues. Average maintenance costs for 60,000 miles can range between $600-$800, including spark plugs and inspections. A well-maintained Outback can provide years of reliable service.