Welcome to the Capresso Coffee Maker Instruction Manual! This guide provides comprehensive instructions for operating, maintaining, and troubleshooting your Capresso coffee maker. Designed to enhance your brewing experience, it covers everything from initial setup to advanced features, ensuring optimal performance and safety. Follow these steps to make the most of your machine and enjoy perfect coffee every time.
Overview of the Capresso Coffee Maker
The Capresso Coffee Maker is a high-quality appliance designed to deliver exceptional coffee experiences. Known for its innovative features, it combines ease of use with advanced functionalities like programmable brewing, thermal carafes, and built-in grinders. Models such as the CoffeeTeam Pro Plus and Touchscreen Coffee Maker offer customizable settings, allowing users to tailor their coffee to perfection. With a focus on durability and performance, Capresso coffee makers are built to last, featuring stainless steel components and user-friendly interfaces. Whether you prefer drip coffee, espresso, or iced tea, Capresso provides versatile options to suit every coffee lover’s needs, ensuring a perfect brew every time.
Importance of Following the Instruction Manual
Following the Capresso Coffee Maker instruction manual is essential for optimal performance, safety, and longevity of the machine. The manual provides detailed guidance on proper operation, maintenance, and troubleshooting, ensuring you get the best brewing results. It outlines critical steps like programming, cleaning, and descaling, which are vital for preventing damage and maintaining flavor quality. Ignoring the instructions may lead to machine malfunctions or safety hazards. By adhering to the manual, you can avoid common issues, extend the lifespan of your coffee maker, and enjoy a perfect cup of coffee every time. Proper usage also ensures warranty compliance and safeguards against potential electrical risks.

Key Features of the Capresso Coffee Maker
The Capresso Coffee Maker boasts advanced brewing technology, built-in grinders, and thermal carafes for optimal flavor. It features programmable timers, touchscreen controls, and customizable settings for precise brewing. With options for espresso, iced coffee, and more, it offers versatility and convenience, making it a top choice for coffee enthusiasts seeking high-quality results and user-friendly design.
Types of Capresso Coffee Makers Available
Capresso offers a diverse range of coffee makers tailored to different preferences and needs. The Infinity model features a built-in grinder for freshly ground coffee, while the Ultima line includes programmable options for convenience. The Eco series focuses on energy efficiency and compact design. Additionally, Capresso provides espresso machines, drip brewers, and iced coffee makers, catering to various brewing methods. Each type is designed to deliver high-quality coffee with user-friendly interfaces. Whether you prefer simplicity, advanced features, or eco-conscious designs, Capresso has a model to suit your lifestyle and coffee habits, ensuring a perfect brewing experience every time.
Unique Features of Capresso Coffee Makers
Capresso coffee makers stand out for their innovative design and advanced features. Many models include a built-in grinder, ensuring freshly ground coffee with every brew. The stainless steel thermal carafe keeps coffee warm for hours without overheating. Digital temperature control allows precise adjustment, optimizing extraction for the perfect cup. Programmable brewing timers and customizable strength settings cater to individual preferences. Some models feature a “cup-select” option, enabling brewing for single cups or full carafes. Additionally, eco-friendly designs reduce energy consumption, and automatic shut-off enhances safety. These unique features combine to provide a seamless, high-quality coffee experience tailored to any coffee lover’s needs.
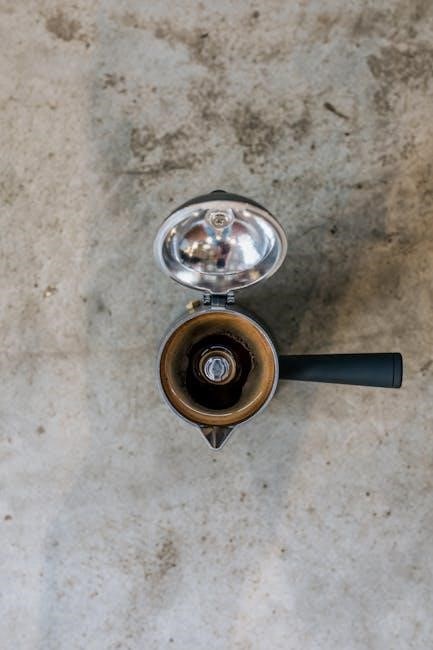
Components of the Capresso Coffee Maker
The Capresso coffee maker consists of a water tank, brew head, control panel, heating element, and pump. These components work together to ensure optimal brewing performance.
External Parts and Controls
The Capresso coffee maker features a sleek and user-friendly design with easily accessible external controls. The front panel includes a control interface with buttons for power, brewing options, and programmable settings. A digital display provides clear feedback for selected options. The water tank is located on the side or rear, depending on the model, and is transparent for easy water-level monitoring. The brew head is positioned at the top, with a removable drip tray and grid to accommodate cups or carafes. Additional features like a steam wand (on certain models) and a thermal carafe contribute to its functionality. These components are designed for convenience and durability, ensuring a seamless brewing experience.
Internal Components and Their Functions
The Capresso coffee maker houses essential internal components that ensure efficient brewing. The heating element rapidly heats water to the optimal temperature for extraction. A high-pressure pump forces hot water through finely ground coffee beans, creating a rich espresso or drip coffee. The control board manages electrical functions, including temperature regulation, timing, and programmed settings. Internal tubing and valves direct water flow precisely. Some models include a built-in grinder, which pulverizes beans to the desired consistency; The machine also features a steam wand mechanism (in applicable models) for frothing milk. These components work harmoniously to deliver consistent results. Regular maintenance is crucial to ensure their longevity and performance.
Assembly and Initial Setup
Unpack the Capresso coffee maker, ensuring all parts are included. Place it on a stable, heat-resistant surface and plug it in. Rinse thoroughly for first use.
Unpacking and Pre-Installation Tips
When unpacking your Capresso coffee maker, carefully remove all components, including the machine, water tank, filter, and power cord. Ensure no parts are damaged during unpacking. Before installation, place the coffee maker on a stable, heat-resistant surface, away from direct sunlight. Plug it into a nearby outlet with the correct voltage rating. Rinse the water tank, carafe, and any removable parts thoroughly with warm water to remove any manufacturing residues. Dispose of packaging materials safely, especially sharp objects. Finally, review the manual to familiarize yourself with the machine’s layout and settings before proceeding with assembly or brewing.
Step-by-Step Assembly Instructions
Begin by attaching the water tank to the base of the coffee maker. Align the tank with the designated slots and secure it using the provided clips. Next, place the thermal carafe on the warming plate, ensuring it fits snugly. Remove the brew head from its packaging and mount it to the top of the machine using the screws provided. Tighten gently to avoid damage. Attach the bean container by sliding it into position on the top of the machine and securing it with the latch. Finally, plug in the power cord and ensure all components are properly aligned. Double-check all connections before turning on the machine for the first time.

Brewing Instructions
Add water to the tank, measure coffee grounds, and place the filter. Select brew size and strength, then press start. The machine will handle the rest.
Preparing the Machine for First Use
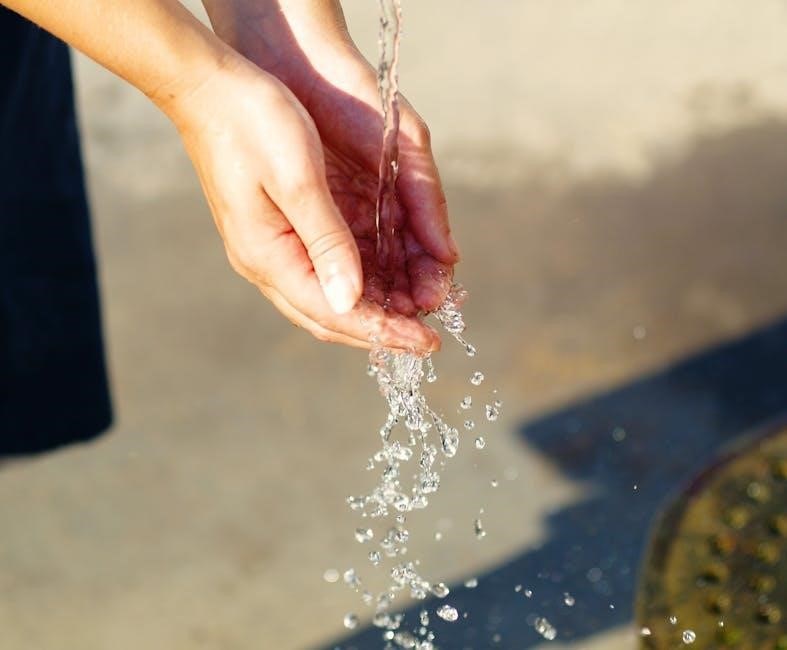
Before brewing, rinse all parts with warm water. Wash the thermal carafe, filter basket, and any removable components with mild soap and dry thoroughly. Plug in the machine, ensure the water tank is filled, and run a brewing cycle without coffee to prime the system. For pump models, perform the initial priming procedure as outlined. Grind your coffee beans just before brewing for optimal flavor. Ensure the filter is properly placed, and all components are securely aligned. Refer to the grinding guide for the correct coarseness. Once prepared, your Capresso coffee maker is ready for its first use. Follow the brewing instructions for a perfect cup.
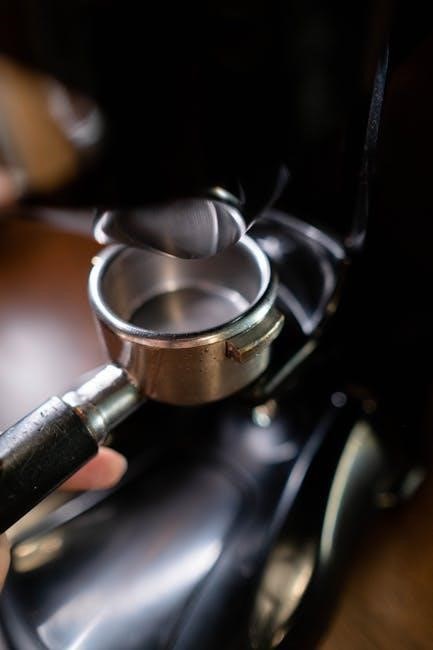
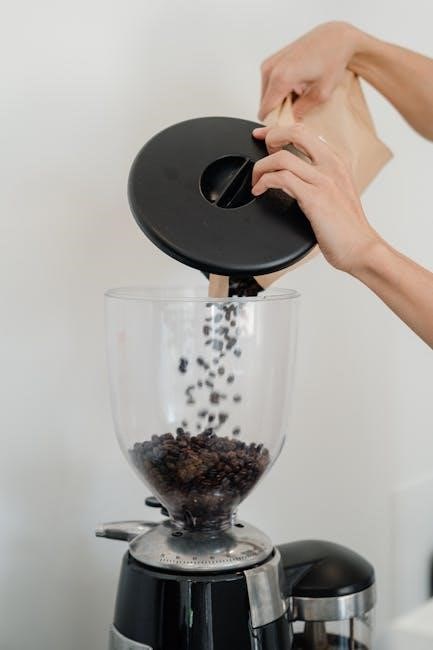
Grinding Coffee Beans for Optimal Flavor
For the best flavor, grind your coffee beans just before brewing. Use a burr grinder, as it produces a consistent grind without generating heat, which can damage beans. Blade grinders are less ideal but can work if used briefly and pulsed. Choose a grind size that matches your brewing method: fine for espresso, medium for drip, and coarse for French press. Store coffee beans in an airtight container in a cool, dark place to preserve freshness. Avoid pre-ground coffee, as it loses flavor quickly. Experiment with grind settings to find your perfect balance. Proper grinding ensures optimal extraction and a delicious cup every time.
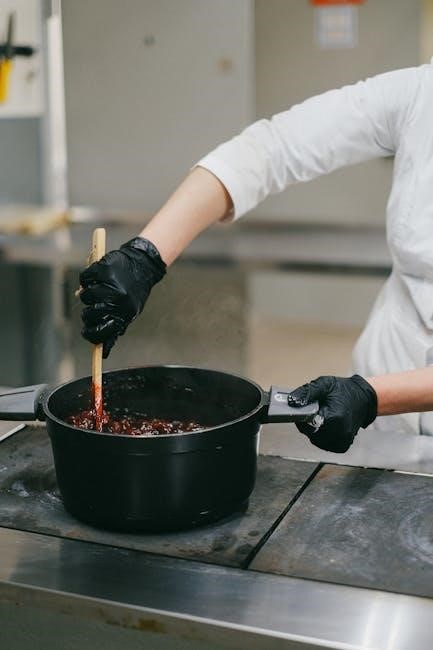
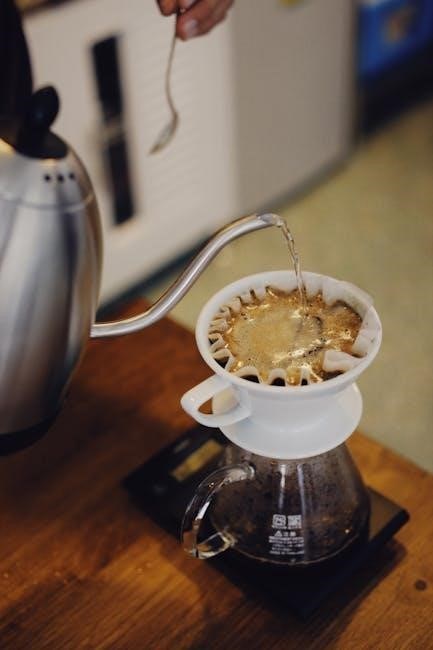
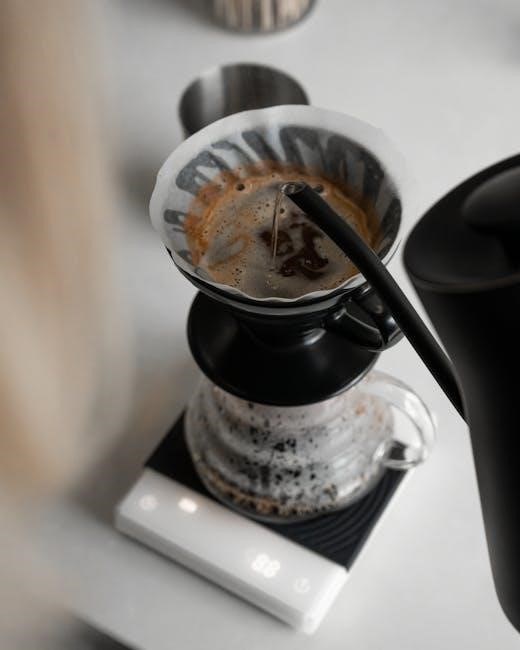
Brewing Coffee: A Step-by-Step Guide
Ensure the machine is preheated and ready for use. Add fresh, filtered water to the reservoir, avoiding exceeding the max capacity.
Insert a paper or metal filter into the filter basket, depending on your model.
Measure and pour ground coffee into the filter, using 1 tablespoon per 6 ounces of water for optimal strength.
Attach the filter basket to the machine and select your preferred brew size or strength setting.
Press the brew button to start the process. The machine will distribute hot water evenly over the grounds.
Once brewing is complete, remove the carafe and pour your coffee. For best flavor, serve immediately.
Clean the machine and discard used grounds after each use to maintain hygiene and flavor quality. Follow these steps to enjoy perfectly brewed coffee every time.
Programming the Coffee Maker
Set the clock and timer for scheduled brewing. Use the auto-brew feature to program your preferred brew time. Adjust settings as needed for customization.
Setting the Clock and Timer
To set the clock, plug in the coffee maker and press the Clock button. Use the arrow keys to adjust the time and press Set to save. For the timer, press the Timer button and use the arrow keys to select your desired brew start time. Press Set to confirm. The timer allows you to schedule brewing up to 24 hours in advance. Ensure the clock is set correctly for the timer to function properly. The timer will default to 7:00 AM unless adjusted. Always review your settings to avoid errors. Proper setup ensures your coffee is ready when you need it. Follow these steps for consistent and convenient brewing.
Auto-Brew Feature: Setting Up Scheduled Brewing
The Auto-Brew feature allows you to schedule coffee brewing in advance. Press the Auto Brew button until the indicator lights up. Use the arrow keys to select the desired brew time, up to 24 hours ahead. Press Set to confirm. Ensure the coffee maker is prepared with grounds and water before scheduling. The machine will automatically start brewing at the set time. For multiple days, repeat the process. To cancel, press and hold the Auto Brew button until the light turns off. This feature ensures fresh coffee is ready when you want it, making mornings easier and more convenient. Always check the timer and machine setup before leaving it unattended.
Maintenance and Cleaning
Regular maintenance ensures optimal performance. Wipe surfaces with a damp cloth, empty the drip tray, and check for mineral buildup. Clean brew components weekly. Always unplug the machine before cleaning to avoid electrical hazards. Descale every 3-6 months, depending on water hardness. Use a soft brush to remove coffee oils from the brew head. Replace worn-out seals or gaskets promptly. Proper care extends the lifespan and maintains flavor quality. Refer to specific cleaning cycles or modes if available on your model. Keep the machine dry after cleaning to prevent mold growth. Regular upkeep ensures consistent brewing results and prevents technical issues. Avoid using abrasive cleaners that may damage surfaces. Follow the manufacturer’s recommendations for approved cleaning solutions. Cleaning frequency may vary based on usage and water quality. Always rinse thoroughly after descaling or cleaning to remove any chemical residue. Store the machine in a cool, dry place when not in use. Regularly check and replace the water filter to prevent impurities from affecting taste. Use a mixture of equal parts water and white vinegar for deep cleaning the internal system. Run a cleaning cycle or a pot of hot water after using vinegar to rinse thoroughly. Avoid submerging electrical parts in water. Clean the thermal carafe and travel mug with mild soap and warm water. Dry thoroughly to prevent water spots. For stubborn stains or buildup, soak parts in warm soapy water before scrubbing. Use a descaling solution specifically designed for coffee makers to remove mineral deposits effectively. Always refer to the user manual for model-specific cleaning instructions. Keep the coffee maker away from direct sunlight to prevent overheating. Clean the grinder separately if your model includes one, using a brush or specialized cleaning tablets. Regularly empty and clean the used coffee grounds container to prevent mold and odors. Wipe down the exterior with a microfiber cloth to maintain appearance. Check for any blockages in the water tank or tubes and clear them promptly. Use filtered water to reduce mineral buildup and extend the machine’s lifespan. Clean the drip tray and grid regularly to prevent coffee oil residue from accumulating. Avoid using harsh chemicals or scouring pads that may scratch surfaces. Follow a routine cleaning schedule to maintain the machine’s efficiency and hygiene. Always allow the machine to cool down before cleaning to avoid burns. Use a descaling solution every 3-6 months to remove mineral buildup and ensure optimal water flow. Clean the brew basket and carafe after each use to prevent old coffee oils from affecting the taste. Regular maintenance ensures your Capresso coffee maker continues to deliver exceptional performance and flavor. Refer to the troubleshooting section if cleaning does not resolve issues like slow brewing or error codes. Clean the machine immediately after noticing any scaling or mineral deposits to prevent permanent damage. Use a soft, dry cloth to wipe down all surfaces after cleaning to prevent water spots. Regularly inspect all parts for signs of wear and tear, replacing them as needed. Keep the user manual handy for specific cleaning instructions tailored to your Capresso model. Cleaning is essential to preserve the machine’s functionality and ensure every cup tastes its best. Always unplug the machine before performing any deep cleaning or maintenance tasks. Use a gentle cleanser to avoid damaging any components or stripping away protective coatings. Regular cleaning prevents the growth of mold and bacteria, ensuring a hygienic brewing environment. Clean the machine after each use to prevent coffee residue from building up and affecting future brews. Use a damp cloth to wipe down all surfaces, paying attention to areas around buttons and controls. Regular maintenance is key to extending the lifespan and performance of your Capresso coffee maker. Always follow the manufacturer’s cleaning recommendations for optimal results. Clean the machine’s exterior regularly to maintain its appearance and prevent dust buildup. Use a toothbrush to gently clean hard-to-reach areas like the brew head and control panel crevices. Regular cleaning ensures your Capresso coffee maker continues to function efficiently and deliver great-tasting coffee. Always rinse all parts thoroughly after cleaning to remove any cleaning solution residue; Clean the machine’s interior and exterior regularly to maintain hygiene and performance. Use a mixture of water and white vinegar to clean internal parts and remove any buildup. Regular maintenance prevents clogs and ensures smooth operation. Clean the machine after each use to prevent old coffee oils from affecting the flavor of future brews. Always refer to the user manual for specific cleaning instructions for your Capresso model. Regular cleaning ensures your coffee maker remains in excellent condition and continues to perform optimally. Use a soft sponge or cloth to clean surfaces, avoiding abrasive materials that may scratch. Regular maintenance is crucial for preserving the quality and longevity of your Capresso coffee maker. Clean the machine regularly to prevent the accumulation of coffee oils and residue. Always unplug the machine before cleaning to ensure safety. Use a descaling solution to remove mineral deposits and maintain proper water flow. Regular cleaning ensures your Capresso coffee maker continues to deliver exceptional brewing results. Clean the machine after each use to prevent any buildup that could affect performance. Always follow the manufacturer’s guidelines for cleaning and maintenance to ensure warranty compliance. Regular upkeep ensures your coffee maker remains efficient and continues to produce great-tasting coffee. Clean the machine’s exterior with a damp cloth to maintain its appearance and hygiene. Use a gentle cleanser to avoid damaging any components during cleaning. Regular maintenance is essential for the longevity and optimal performance of your Capresso coffee maker. Always clean the machine after each use to prevent residue from building up. Use a mixture of equal parts water and white vinegar for periodic deep cleaning. Regular cleaning ensures your coffee maker functions properly and delivers consistent results; Clean the machine’s brew head and internal parts regularly to prevent clogs and buildup. Always rinse thoroughly after cleaning to remove any residue. Regular maintenance ensures your Capresso coffee maker continues to perform at its best. Clean the machine after each use to prevent old coffee oils from affecting future brews. Use a soft cloth to wipe down all surfaces, keeping the machine clean and hygienic. Regular cleaning is vital for maintaining the quality and performance of your Capresso coffee maker. Always unplug the machine before cleaning to ensure safety. Use a descaling solution every few months to remove mineral deposits and maintain proper function. Regular maintenance ensures your coffee maker continues to deliver exceptional results. Clean the machine after each use to prevent buildup and maintain hygiene. Always follow the manufacturer’s cleaning instructions for optimal performance. Regular upkeep ensures your Capresso coffee maker remains in great condition and continues to brew perfectly. Clean the machine’s exterior and interior regularly to prevent dust and residue from accumulating. Use a gentle cleanser to avoid damaging any components during cleaning. Regular maintenance is key to extending the lifespan of your Capresso coffee maker; Always clean the machine after each use to prevent old coffee oils from affecting future brews. Use a mixture of water and white vinegar to deep clean internal parts and remove buildup. Regular cleaning ensures your coffee maker functions efficiently and delivers great-tasting coffee. Clean the machine’s brew head and internal components regularly to prevent clogs and maintain performance. Always rinse thoroughly after cleaning to remove any residue. Regular maintenance ensures your Capresso coffee maker continues to perform optimally. Clean the machine after each use to prevent residue from building up and affecting future brews. Use a soft cloth to wipe down all surfaces, keeping the machine clean and hygienic. Regular cleaning is essential for maintaining the quality and longevity of your Capresso coffee maker. Always unplug the machine before cleaning to ensure safety. Use a descaling solution every few months to remove mineral deposits and maintain proper function. Regular maintenance ensures your coffee maker continues to deliver exceptional results. Clean the machine after each use to prevent buildup and maintain hygiene. Always follow the manufacturer’s cleaning instructions for optimal performance. Regular upkeep ensures your Capresso coffee maker remains in great condition and continues to brew perfectly. Clean the machine’s exterior and interior regularly to prevent dust and residue from accumulating. Use a gentle cleanser to avoid damaging any components during cleaning. Regular maintenance is key to extending the lifespan of your Capresso coffee maker. Always clean the machine after each use to prevent old coffee oils from affecting future brews. Use a mixture of water and white vinegar to deep clean internal parts and remove buildup. Regular cleaning ensures your coffee maker functions efficiently and delivers great-tasting coffee. Clean the machine’s brew head and internal components regularly to
Regular Cleaning: Best Practices
Regular cleaning is essential to maintain the performance and hygiene of your Capresso coffee maker. After each use, wipe down the exterior with a damp cloth and rinse removable parts like the brew basket and carafe. Empty the drip tray and coffee grounds container daily to prevent residue buildup. Weekly, clean the brew head with a soft brush and mild soap. Descale the machine every 3-6 months to remove mineral deposits, using a solution designed for coffee makers. Avoid abrasive cleaners or scrubbers that may damage surfaces. Regular cleaning ensures optimal flavor, prevents clogs, and extends the machine’s lifespan. Always rinse thoroughly after cleaning to remove any residue. Follow these best practices to keep your Capresso coffee maker in top condition and brewing perfectly every time.
Descaling the Machine: When and How
Descaling your Capresso coffee maker is crucial to remove mineral buildup from water, which can affect performance and flavor. It should be done every 3-6 months, depending on usage and water hardness. Look for signs like slower brewing or reduced flow as indicators it’s time to descale. Use a descaling solution specifically designed for coffee makers. Pour the solution into the water reservoir, then run it through the machine as you would during brewing; Repeat the process with fresh water to rinse thoroughly. Avoid using vinegar, as it may leave a residue and is not recommended by the manufacturer. Regular descaling ensures optimal water flow, prevents clogs, and maintains the machine’s efficiency. Always refer to the manual for specific descaling instructions tailored to your model. Proper descaling extends the lifespan of your Capresso coffee maker and preserves its functionality. By following these steps, you can keep your machine running smoothly and consistently delivering great-tasting coffee. Ensure you rinse thoroughly to remove any descaling solution residue.
Deep Cleaning the Brew Head and Internal Parts
Deep cleaning the brew head and internal parts of your Capresso coffee maker is essential for removing old coffee oils, residue, and buildup. Start by mixing equal parts water and white vinegar in the reservoir. Run a brewing cycle, then let the solution sit in the machine for about 30 minutes. Use a soft brush to gently scrub the brew head, ensuring all areas are clean; For internal parts, repeat the vinegar cycle 2-3 times to flush out any remaining residue. Rinse thoroughly by running fresh water through the machine multiple times to eliminate any vinegar taste. Regular deep cleaning prevents clogs and ensures a fresher coffee flavor. Avoid harsh chemicals, as they may damage the machine. Always rinse thoroughly after cleaning to maintain optimal performance and hygiene.

Troubleshooting Common Issues
This section helps resolve frequent problems like faulty brewing, error codes, or machine malfunctions. Check power connections, ensure proper water levels, and clean clogged parts regularly. Resetting the machine often fixes issues. Refer to the error code guide for specific solutions. If problems persist, contact Capresso support for assistance. Regular maintenance can prevent many common issues. Always follow the manual’s guidelines for troubleshooting to avoid further damage. Keep the machine clean and well-maintained for optimal performance. If unsure, consult the troubleshooting section for detailed guidance. This ensures your Capresso coffee maker continues to function smoothly and efficiently. Troubleshooting is key to extending the machine’s lifespan.
Identifying Common Problems
Common issues with the Capresso coffee maker include the machine not turning on, inconsistent brew quality, or water leaks. Power issues, faulty switches, or tripped circuit breakers may prevent operation. Poor coffee taste could result from incorrect settings, improper grinding, or stale beans. Leaks often stem from a loose water tank, worn seals, or misaligned parts. Strange noises may indicate scaling buildup or worn internal components. If coffee flows too slow, check for clogged brew heads or old water filters. Always consult the manual for troubleshooting steps before attempting repairs. Identifying these issues early ensures optimal performance and extends the machine’s lifespan. Regular maintenance can prevent many of these problems.
Resolving Error Codes and Machine Malfunctions
Capresso coffee makers may display error codes like E1, E2, or E3, indicating specific issues. E1 often relates to overheating, while E2 may signal a blockage in the brew head or water flow. E3 could indicate a faulty sensor or electrical malfunction. To resolve these, refer to the manual for code meanings and follow troubleshooting steps. Resetting the machine by unplugging it for 30 minutes can often clear temporary glitches. For persistent issues, clean internal parts, check water flow, and ensure proper assembly. If problems persist, contact Capresso customer support for assistance or repair options. Regular maintenance and proper usage can help minimize errors and ensure smooth operation. Always follow manufacturer guidelines for repairs.
Resetting the Machine to Factory Settings
Resetting your Capresso coffee maker to factory settings can resolve persistent issues or restore default functionality. To perform a factory reset, press and hold the Menu and Clock buttons simultaneously for 5-7 seconds until the display lights flash. Release the buttons and unplug the machine for 30 seconds. Plug it back in and allow it to restart. This process will erase all custom settings, including brew times and temperatures. After resetting, you’ll need to reprogram your preferences. Note that this won’t affect the machine’s warranty but will restore it to its original settings. Always refer to the manual for specific reset instructions, as procedures may vary slightly by model.
Accessories and Additional Features
The Capresso coffee maker offers a range of accessories, including thermal carafes, travel mugs, and coffee grinders. Additional features like programmable timers and customizable brew settings enhance functionality.
Optional Accessories for Enhanced Functionality
To elevate your coffee-making experience, Capresso offers a variety of optional accessories. A thermal carafe ensures your coffee stays hot for hours, while travel mugs provide convenience for on-the-go enjoyment. Additionally, a coffee grinder allows for freshly ground beans, enhancing flavor. Milk frothers are available for creating lattes and cappuccinos, and water filters help improve the taste of your brew. These accessories are designed to complement your Capresso coffee maker, offering versatility and convenience. By incorporating these add-ons, you can customize your setup to suit your preferences and brewing habits, making every cup a delightful experience.
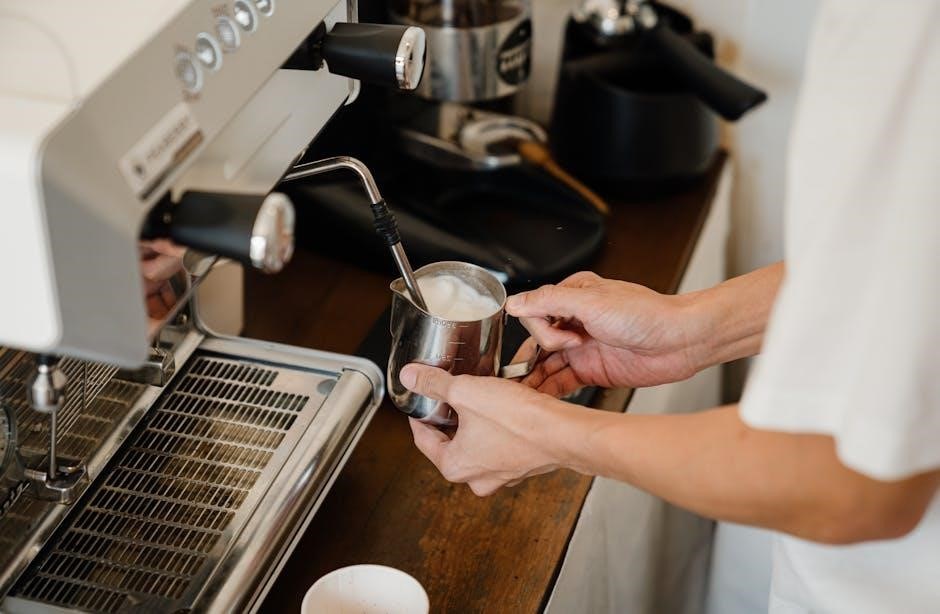
Using the Thermal Carafe and Travel Mug
The thermal carafe is designed to keep your coffee hot for hours, while the travel mug is perfect for taking your favorite brew on the go. To use the thermal carafe, ensure it is preheated before filling with freshly brewed coffee. For the travel mug, fill it directly from the machine or carafe and secure the lid tightly to prevent spills. Both accessories are dishwasher-safe for easy cleaning. The thermal carafe and travel mug are ideal for enhancing your coffee experience, whether you’re enjoying it at home or on the move. Proper use and maintenance of these accessories will ensure optimal performance and longevity.
Integration with Capresso Coffee Grinders
Capresso coffee makers seamlessly integrate with Capresso coffee grinders, ensuring freshly ground beans for every brew. The grinder’s precise settings allow you to customize the grind size to match your coffee maker’s requirements. Connecting the two creates a streamlined workflow, enhancing flavor and aroma. For optimal results, ensure the grinder is set to the correct grind size for your preferred brewing method. Regularly cleaning both devices maintains their performance and prevents old coffee oils from affecting the taste. This integration is designed to simplify your coffee routine while delivering professional-grade results at home. Proper alignment and compatibility ensure a smooth operation between the grinder and coffee maker.
Safety Precautions
Always handle hot parts with care, keep children away, and avoid overheating. Ensure the machine is placed on a stable, heat-resistant surface and never left unattended during operation.